Level Lookup
Select a Campaign level to see the practice target before you queue: timer, mistake allowance, module mix, Chaos pressure, room disruptions, and a matching reference frame.
Quick answer
What does the level lookup tell you?
It is a pre-run planning tool. Pick a level, note how much time and how many mistakes the team can absorb, then assign practice modules before starting. The displayed module list and disruption fields are a versioned snapshot; during a live run, the bomb and its in-game manual remain the final state to follow.
1. Pick a level
Start with the level your group is practicing.
2. Read the pressure
Check the timer, allowed mistakes, and Chaos entries.
3. Prepare the relay
Review the listed modules and assign the final caller.
🗺️ Plan a run
Campaign level lookup
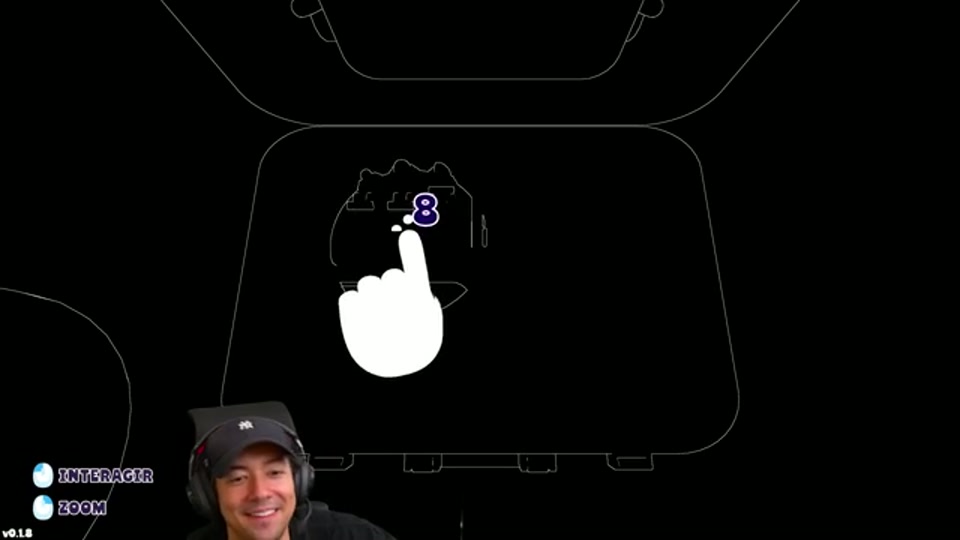
Select a level to see its timer, mistake allowance, module slots, Chaos load, room disruptions, and practice image.
🎯 Level
1
⏱️ Time
2:30
💥 Mistakes allowed
1
⚠️ Chaos entries
0
🧩 Defusal modules
Cable
1 slot(s); fixed names are guaranteed, Random pools are selected by difficulty.
🌪️ Chaos load
None
Repeated entries mean the same hazard can return more than once.
📻 Room disruptions
v1.0.0 reference📻 Radio · Off
First: — · Interval: — · Auto-fix: —
💡 Lamp · Off
First: — · Interval: — · Auto-fix: —
How to use the result in a session
- Use the module list to choose which manual pages to review first.
- Use the disruption fields to agree on a short “wait / confirm / rebuild” vocabulary.
- After the level starts, replace the snapshot with the current panel state before every input.
Keep the lookup current
The practice image and level rows are a maintained reference snapshot. If a patch changes level timing, module placement, or disruptions, update the lookup data and recheck the page rather than treating an older row as a live guarantee.