What is the safe observation order?
🔘 Manual readback
Switch state tracker
Record diode colours, numbers, and switch states; the current manual decides which switches move.
Tap each switch to record its current state. Enter the manual’s requested up/down state to get the exact flips; the manual still supplies that state.
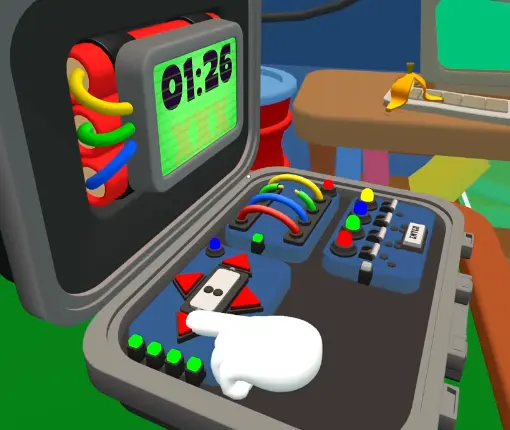
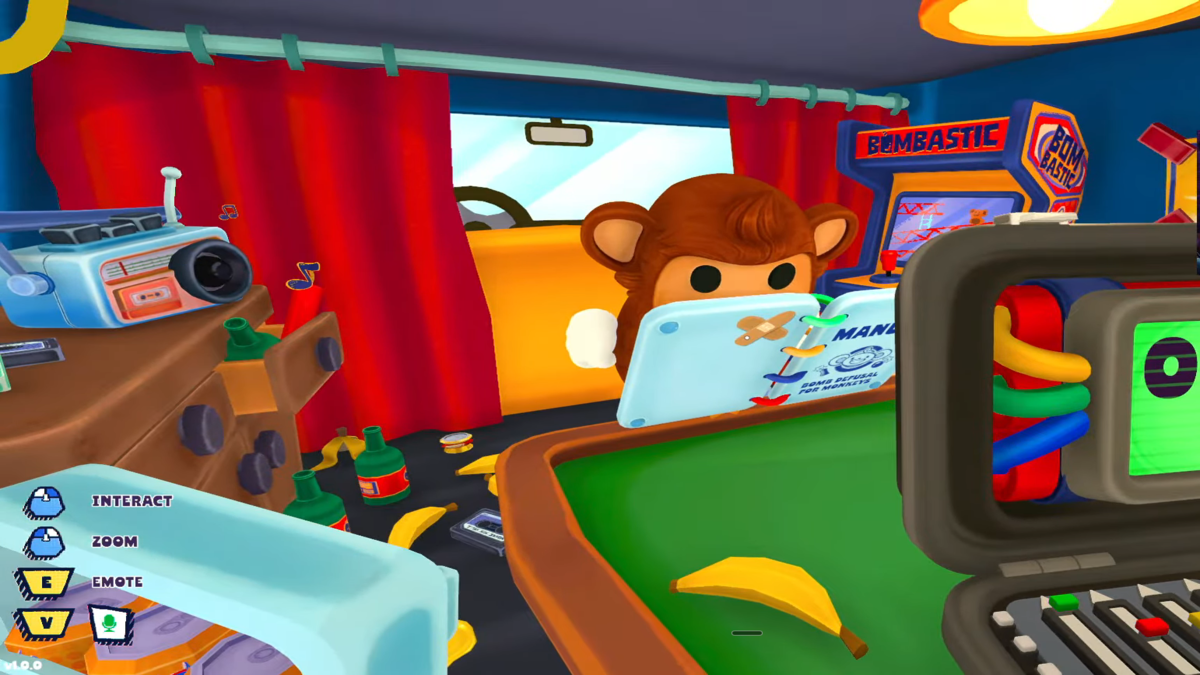
Describe lights first, then numbers, then the current switch position. Keep a numbered list and repeat it before moving anything.
Switch module facts
| Field | Reference answer |
|---|---|
| Difficulty | Hard |
| Module type | Defusal |
| Panel footprint | 4 × 2 grid |
| First fixed campaign appearance | Level 16 |
| Fixed campaign appearances | Levels 16, 17, and 20 |
The rule is order-sensitive: read the coloured lights from left to right, use the Braille number beneath them, toggle the required switches, and press ENTER only after the whole row has been checked. A switch position without its light order is not enough information.
Cross-source state packet
Two independent switch guides agree on the minimum packet before any toggle: the complete light order, the full number string, the current switch state, and a final Enter confirmation. Use the following compact card during a run:
| Callout stage | Emoji | Required information |
|---|---|---|
| Identify | 🔌 | “Switch module” plus its panel position |
| Read lights | 💡 | All light colours from left to right |
| Read numbers | 🔢 | Every Braille number in the same order |
| Apply rule | 📖 | Mute checks the matching manual row and signs each switch |
| Confirm | 🔁 | Deaf repeats the complete up/down result |
| Commit | ✅ | Blind flips the confirmed switches, then presses ENTER |
The rule categories include odd/even and greater-than / less-than checks. Use the current manual to select the matching rule row, then treat the examples below as practice cases for the read-and-confirm workflow.
How the manual rows are organized
The Switch page is easiest to read as three large colour-order rows, each with two smaller comparison rows. First match the left-to-right light order; then compare the Braille values in the smaller row. A value that satisfies the first comparison is switched on, while a value that satisfies the second comparison is switched off. For example, with the order Red → Yellow → Blue → Green, the colours establish the row and the four Braille values are then compared in their matching positions. Keep the row fixed while checking every position; do not rebuild it from a previous bomb. 🔢💡🔁
The current panel remains the final authority because the exact comparison wording and colour order can change with the manual. If one number is unclear, reread the complete left-to-right number string before moving a switch.
Worked comparison example 🔢💡
For a practice state with lights Red → Yellow → Blue → Green and Braille values 7, 6, 9, 4, a manual row can ask for: first value > 5, yellow compared with red, a value in 1 / 2 / 6 / 9, and an odd value. The checks resolve to Up, Down, Up, Down for the four positions. This example shows why the colour row must be selected first and why each number is judged against the condition under its own light; it is not a replacement for reading the current row in the in-game manual.
Cross-source worked examples
Two independent module references repeat the following practice states. They are useful for checking the callout format, but they do not replace reading the live panel:
| Light order | Number order | Resulting switch state |
|---|---|---|
| Red → Yellow → Blue → Green | 4 → 3 → 2 → 6 | Down → Down → Up → Down |
| Red → Yellow → Blue → Green | 7 → 9 → 3 → 6 | Up → Up → Down → Down |
| Red → Yellow → Blue → Green | 1 → 4 → 3 → 6 | Down → Up → Down → Down |
🔁 Read the complete packet again if one value changes. ✅ Press ENTER only after the four output positions have been repeated.
What should happen after Enter?
Treat Enter as the final confirmation. Report whether the panel accepted the sequence or changed state, then use the puzzle index.
How are switch answers communicated?
Use this complete switch callout: read the diode colors from left to right, state the current position of all switches, then describe the number or arrangement of the spheres below each diode. If the row is red, green, blue, yellow and all switches start down, raise only the switches required by the current rule before pressing Enter.
Do not describe a switch only as “the blue one.” Say its position in the row and its requested state. Say “the fourth switch, under the yellow diode” when colors repeat.
What is the complete switch workflow?
- Name every diode color from left to right.
- Record the starting position of every switch.
- Describe the number or sphere arrangement under each diode.
- Wait for the interpreter to state which numbered switches change.
- Repeat the positions and press Enter once.
- Record whether the module accepted the sequence.
The number is safer than the color when a color appears more than once. Keep the row order in the note so the operator can match the call to the physical panel.
The Module Solver is a state tracker. Enter the left-to-right light order, the visible Braille number, each switch’s starting state, and the planned toggles. It helps the team audit the row before Enter; it does not invent a missing rule-table result.
How should a failed Enter be handled?
Do not flip additional switches immediately. First report which switches moved and whether the panel reset, then reread the diode colors and starting state. Use the puzzle index to confirm that the panel is still the switch module.
Campaign placement and recovery checklist
The reference places Switch first at Level 16 and lists fixed appearances at Levels 16, 17, and 20. Check Level Lookup before practice because a random run can change the surrounding module mix.
| Before moving | After the planned toggles | After Enter |
|---|---|---|
| Light colours left-to-right recorded | Every switch position repeated | Accepted, reset, or failed state reported |
| Braille number recorded | Interpreter confirms exact positions | Reread the row if the state changed |
| Starting up/down state recorded | No extra “helpful” toggles | Keep the failed sequence for comparison |
Related practice: Direction for left-to-right callouts, Roles for caller ownership, and Campaign Progression for level context.